Have you submitted our demo request form, logged in via the link we sent you, and now feel a bit lost about what to do next? No worries, because we got it all covered in this simple user guide!
Here you will find all the instructions for using the demo version of the Staffino experience management platform. This user guide covers everything from how to create a customer feedback survey to employee gamification, so waste no time and dive into exploring the platform alongside reading these tips.
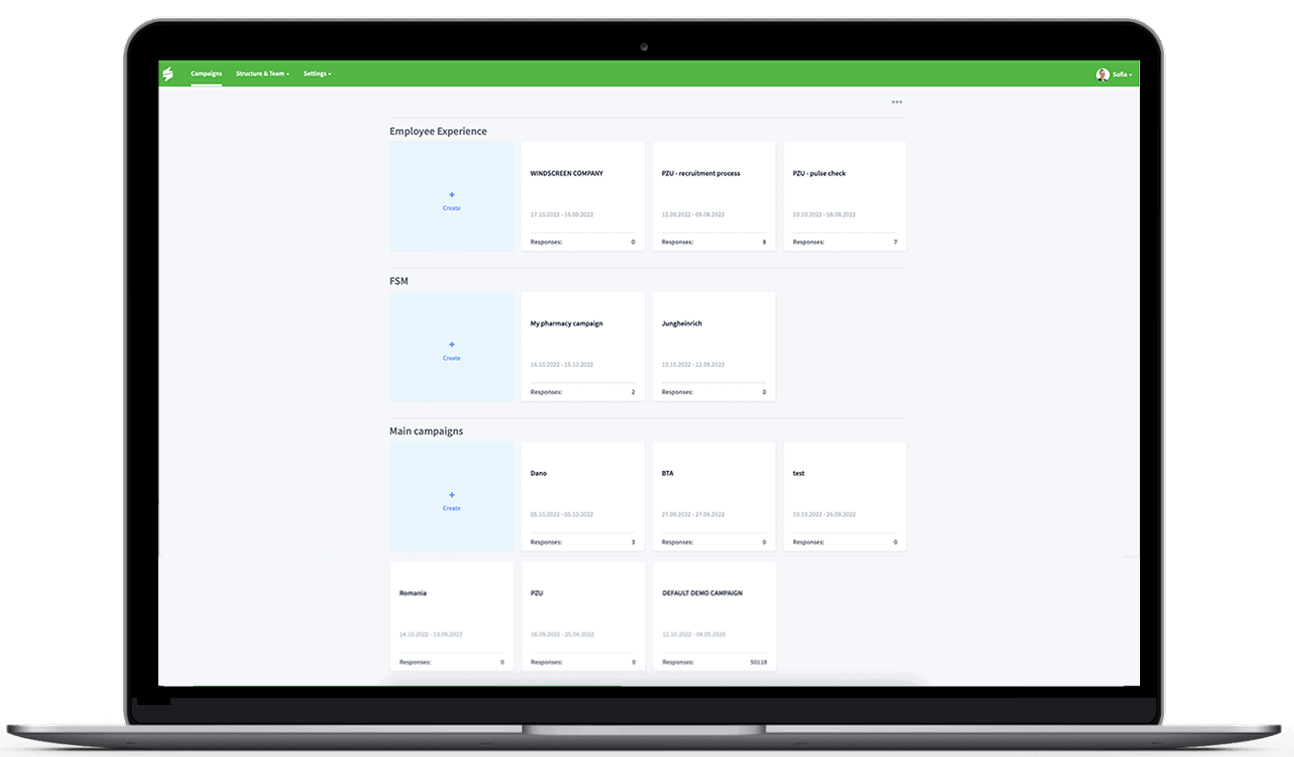
1. CHOOSE YOUR CAMPAIGN
Once you log in to Staffino, you will see the campaign overview. You can create your campaigns here later. For the purposes of this demo tour, choose the default demo campaign, which has imported customer and employee data that you can work with.
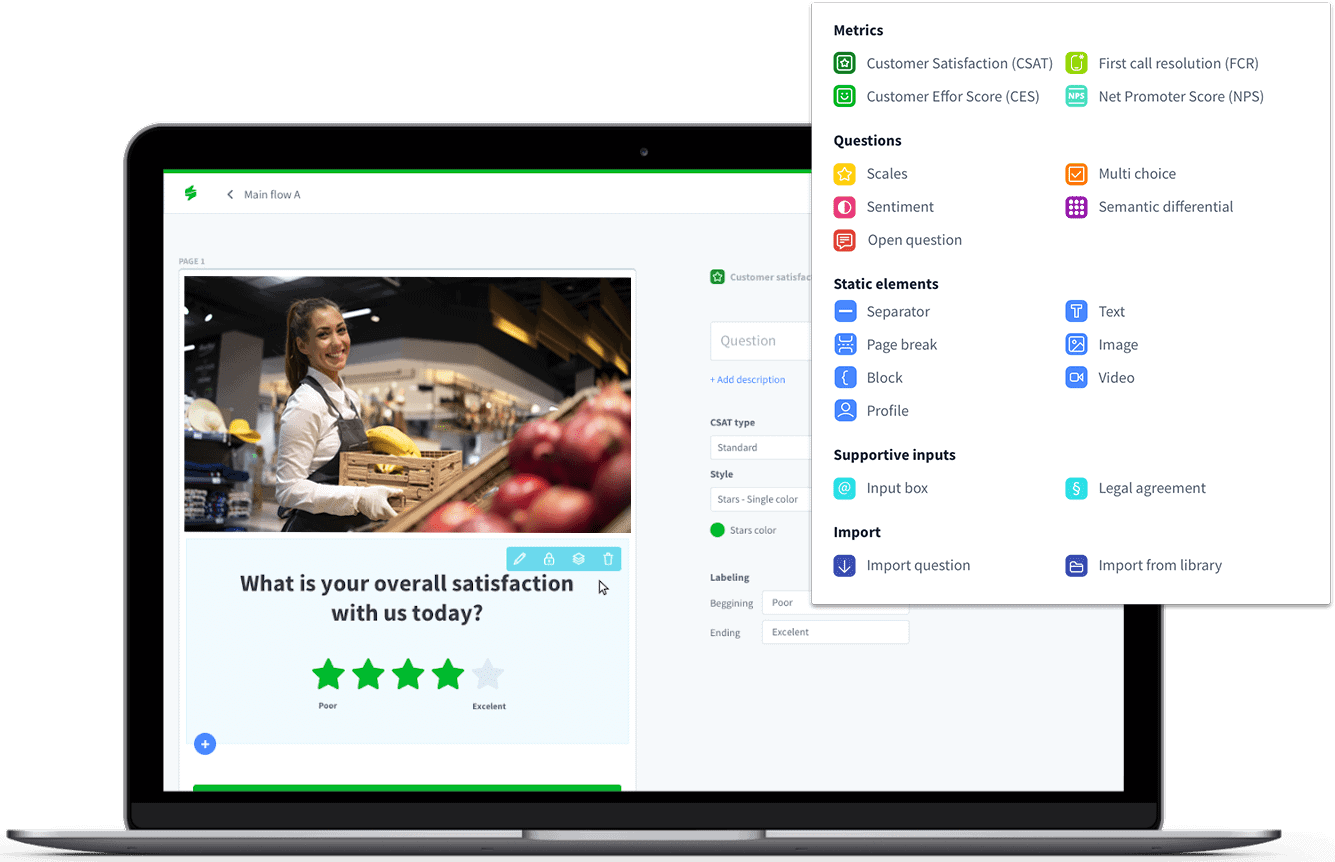
2. GET CREATIVE WITH THE FLOW EDITOR
Visit the “Flow editor“ tab, open the demo flow, and create your first questionnaire in a matter of minutes!
- Choose from a wide array of CX metrics, ready-made questions, and static elements and reorder them as needed in a drag & drop style.
- Set your own element style, colour, or labelling.
- Make the most of your feedback flow by setting conditions for relevant questions, e.g. ask for verbatim with your NPS questions if the customer rated anywhere between 0 to 6.
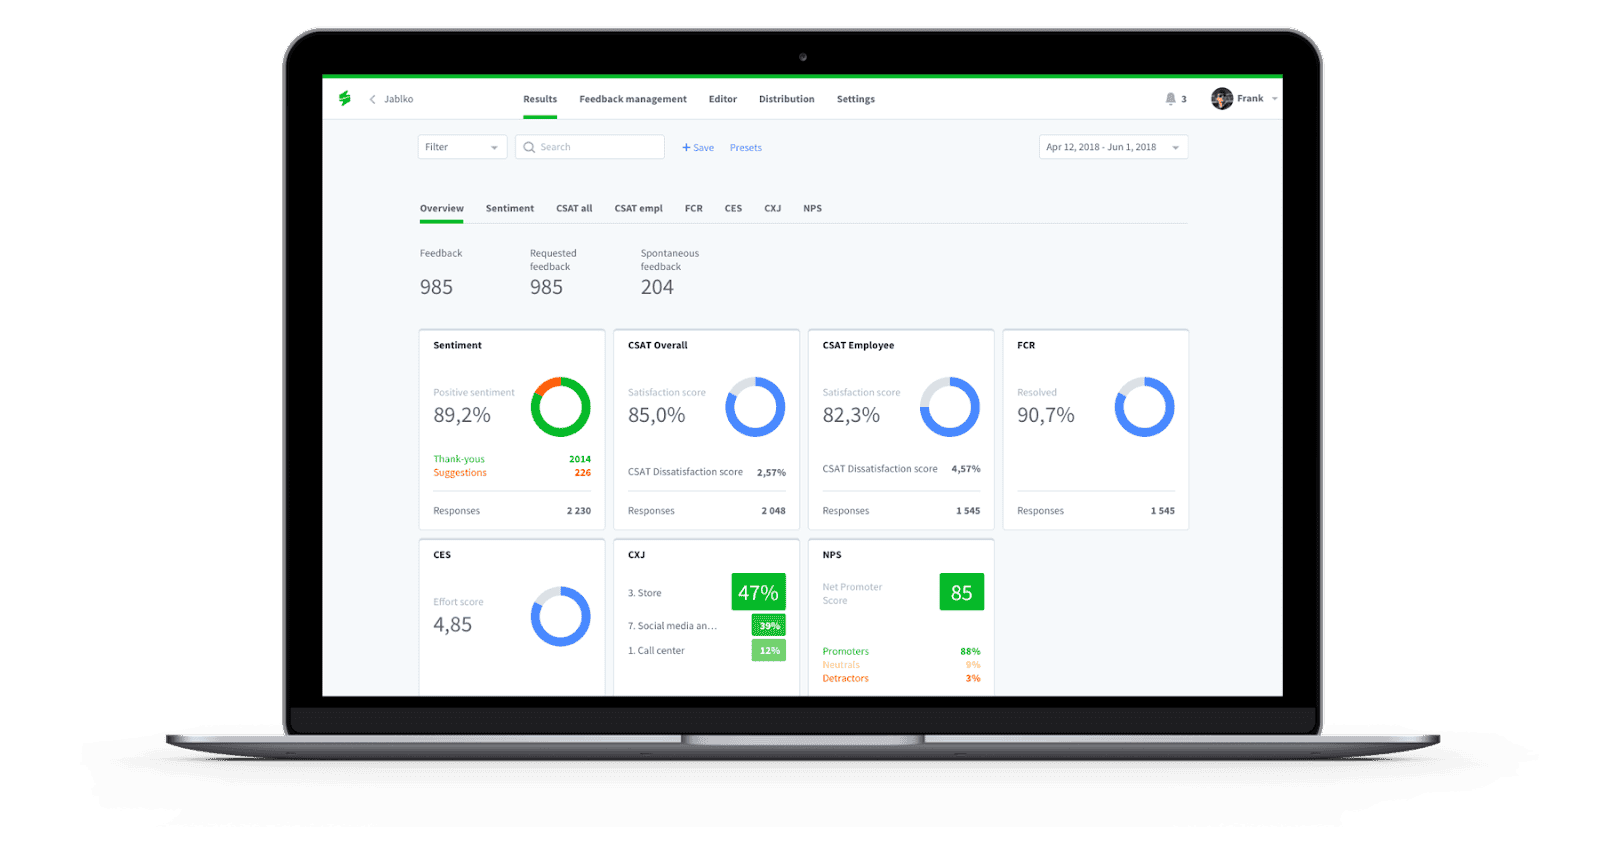
3. OVERVIEW OF RESULTS ON PERSONALISED DASHBOARDS
Once you enter the default demo campaign, the first thing you will see is a pre-defined set of widgets, with the most important metrics measured in your campaign displayed in a quick and visually appealing way.
- Click through each widget for an advanced dashboard overview of your results with histograms, variations, heatmaps and other structured details.
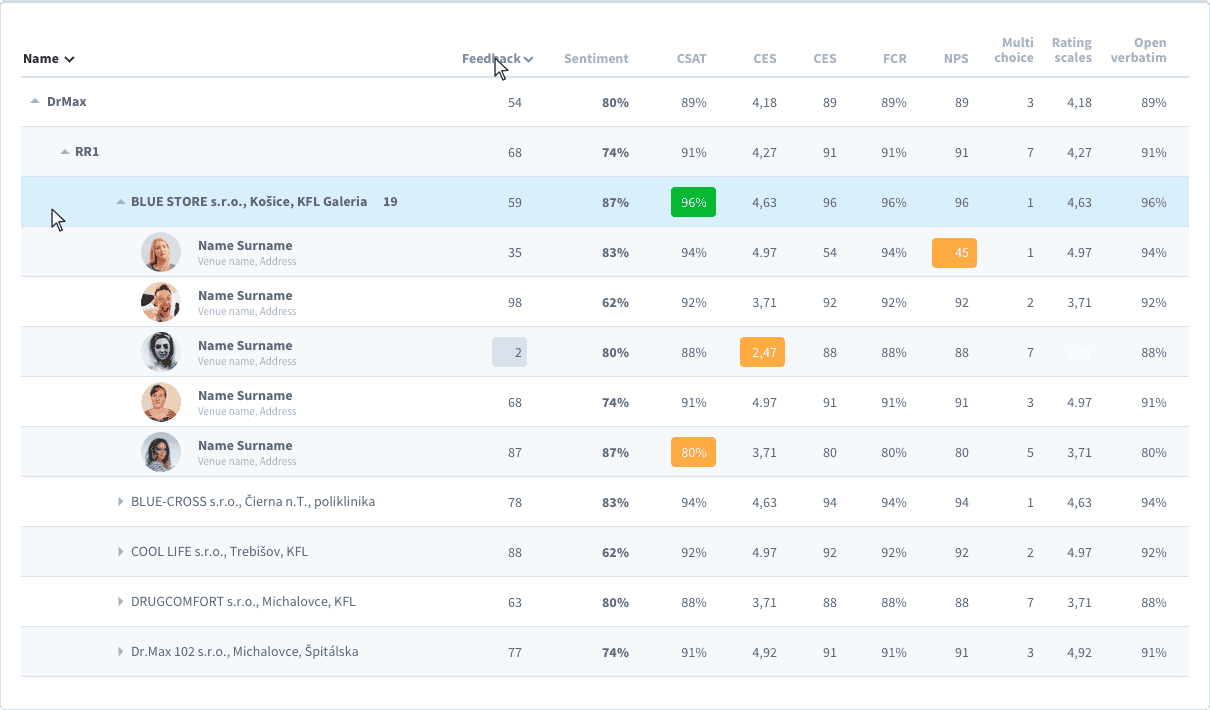
- Scroll down and look at specific countries within your global operations, venues or teams within each country, and individual employees. This will give you a detailed overview of what markets/teams/employees contributed to the good results and which might need further training.
- You can also look at the response intensity trends, which can be pretty useful while planning the distribution model of your feedback campaigns.
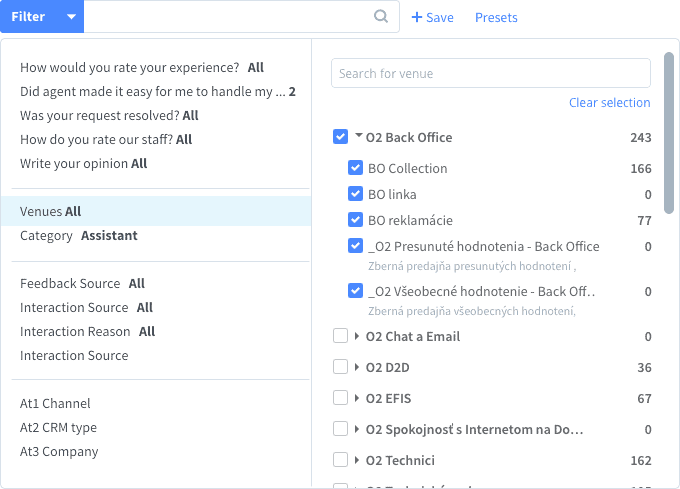
4. FILTERS & TIME INTERVAL
If you don’t want to see the results of the global operations but rather a smaller portion of them, you can set filters in the upper left corner just above the widgets.
- For example, you may filter the results of specific questions from your feedback flow, the results of organisational units, or even those based on your custom-set attributes important to your operations, such as customer type of contact reason.
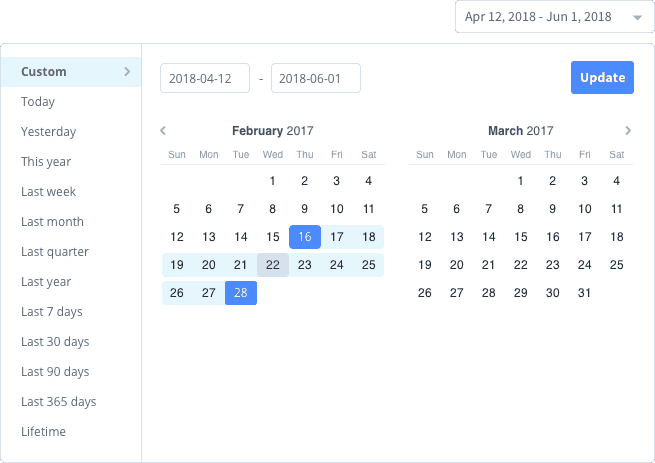
- In the upper right corner, you can similarly filter specific time intervals for which you want to display the results. Filtered views can be stored as “Presets” for quick access later on.
5. FEEDBACK MANAGEMENT
Visit the “Feedback management” tab, where you can see all the received feedback with attached CX metrics scores, sentiment, feedback attributes, transaction attributes, and other details.
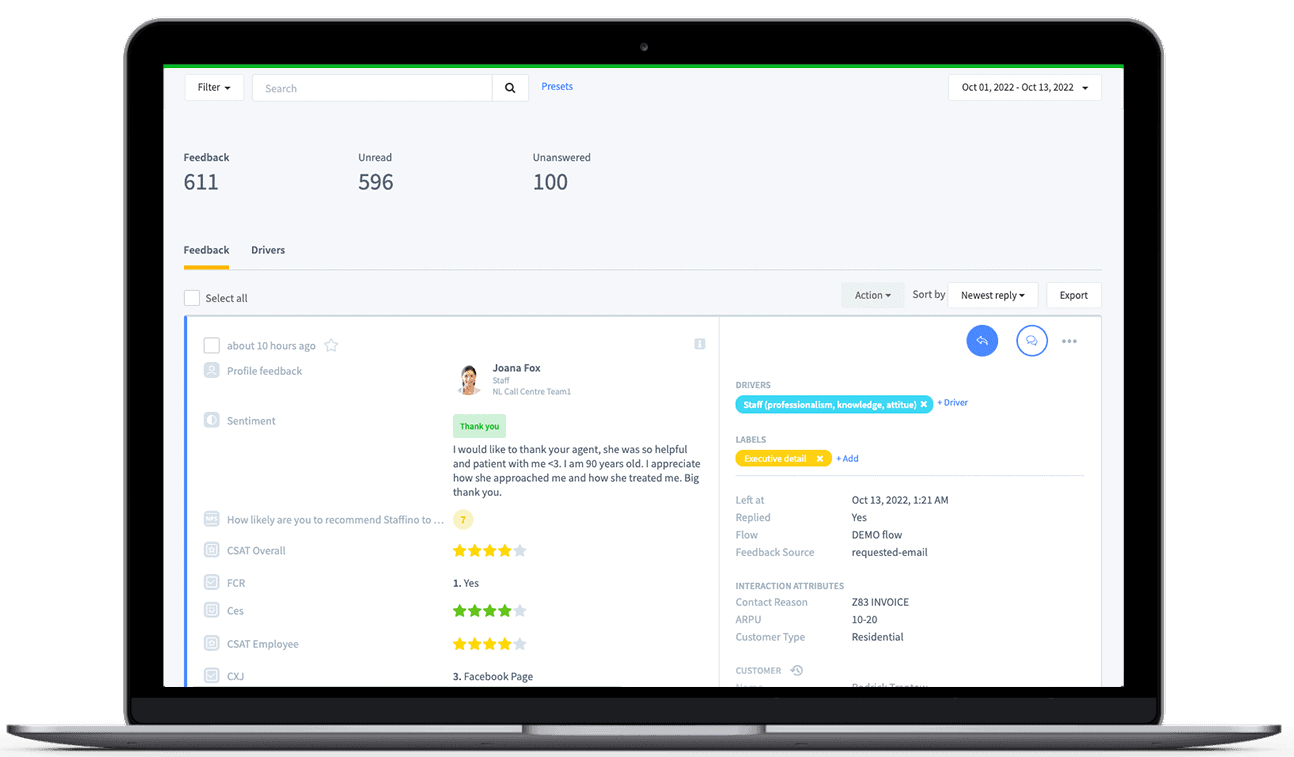
- By default, you will see all the customer feedback received; however, you can also sort the unread or unanswered customer feedback.
- In addition, you can use filters and dive into more detail – e.g. see all the customer feedback collected on a particular employee.
- Again, filtered views can be stored as “Presets” for quick access later.
- You can also add labels, which help you sort the feedback according to the topic/issue it relates to, e.g. technical issue, product, retention, etc.
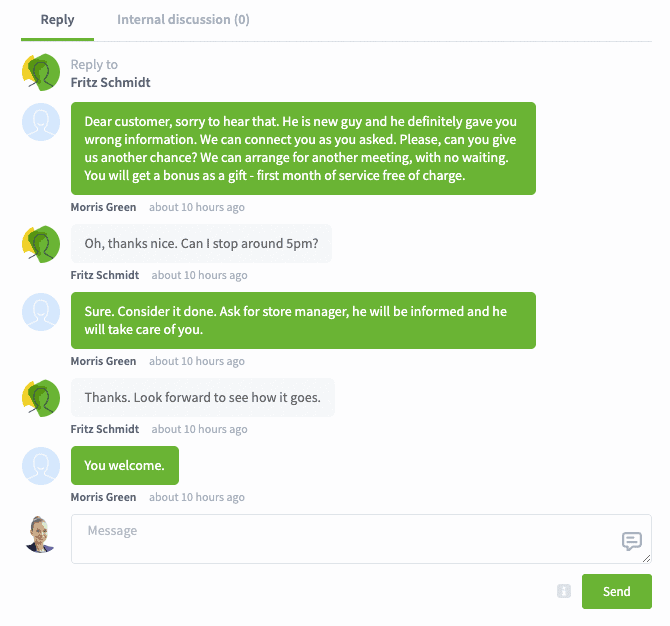
Under the feedback, there are two discussion options.
- First, you can respond to unhappy customers directly through the platform, ask for more details, and offer a satisfactory solution.
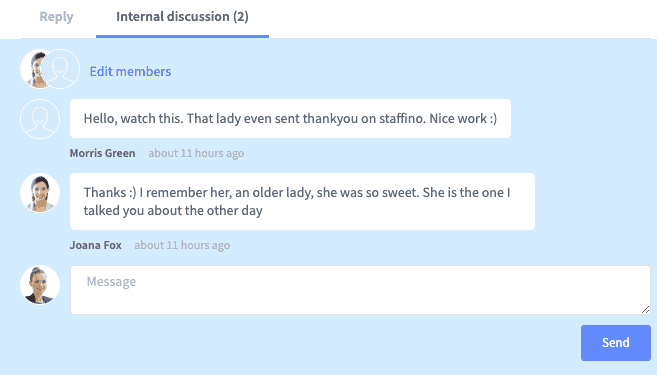
- Second, a unique part of this module is the internal discussion, which you can lead with employees or other managers to gain further insight into the customer’s issue or give recognition to employees when they receive positive feedback.
6. DISTRIBUTION
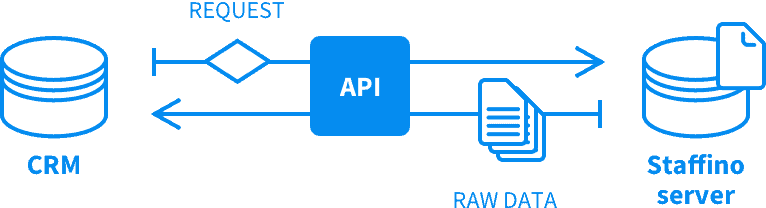
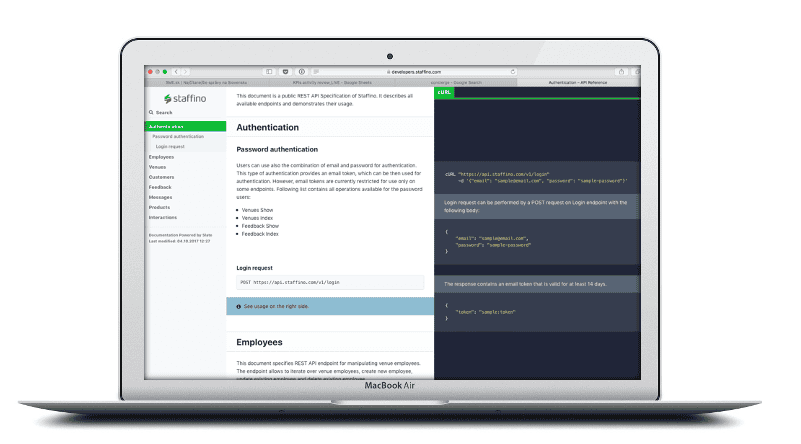
The “Distribution” tab is where you will later import your customer data, set distribution channels or create triggers for feedback requests. For now, we offer manual import (xlsx files), FTP and API sources, and our Customer Success department will happily help you set the one that best meets your organisation’s needs. You can distribute the feedback requests through email, text messages, WhatsApp, or generate a link for spontaneous feedback.
7. PREFERENCES
Move on to the “Preferences” tab, where you can set the autoreply conditions for customer feedback.
- For instance, if a customer leaves a satisfactory CSAT rating of 4 or 5, they will receive an autoreply in which you will thank them for their positive feedback.
- Auto replies can be set for any feedback related to any tracked CX metric or sentiment.

8. CUSTOM GAMIFICATION WIDGETS
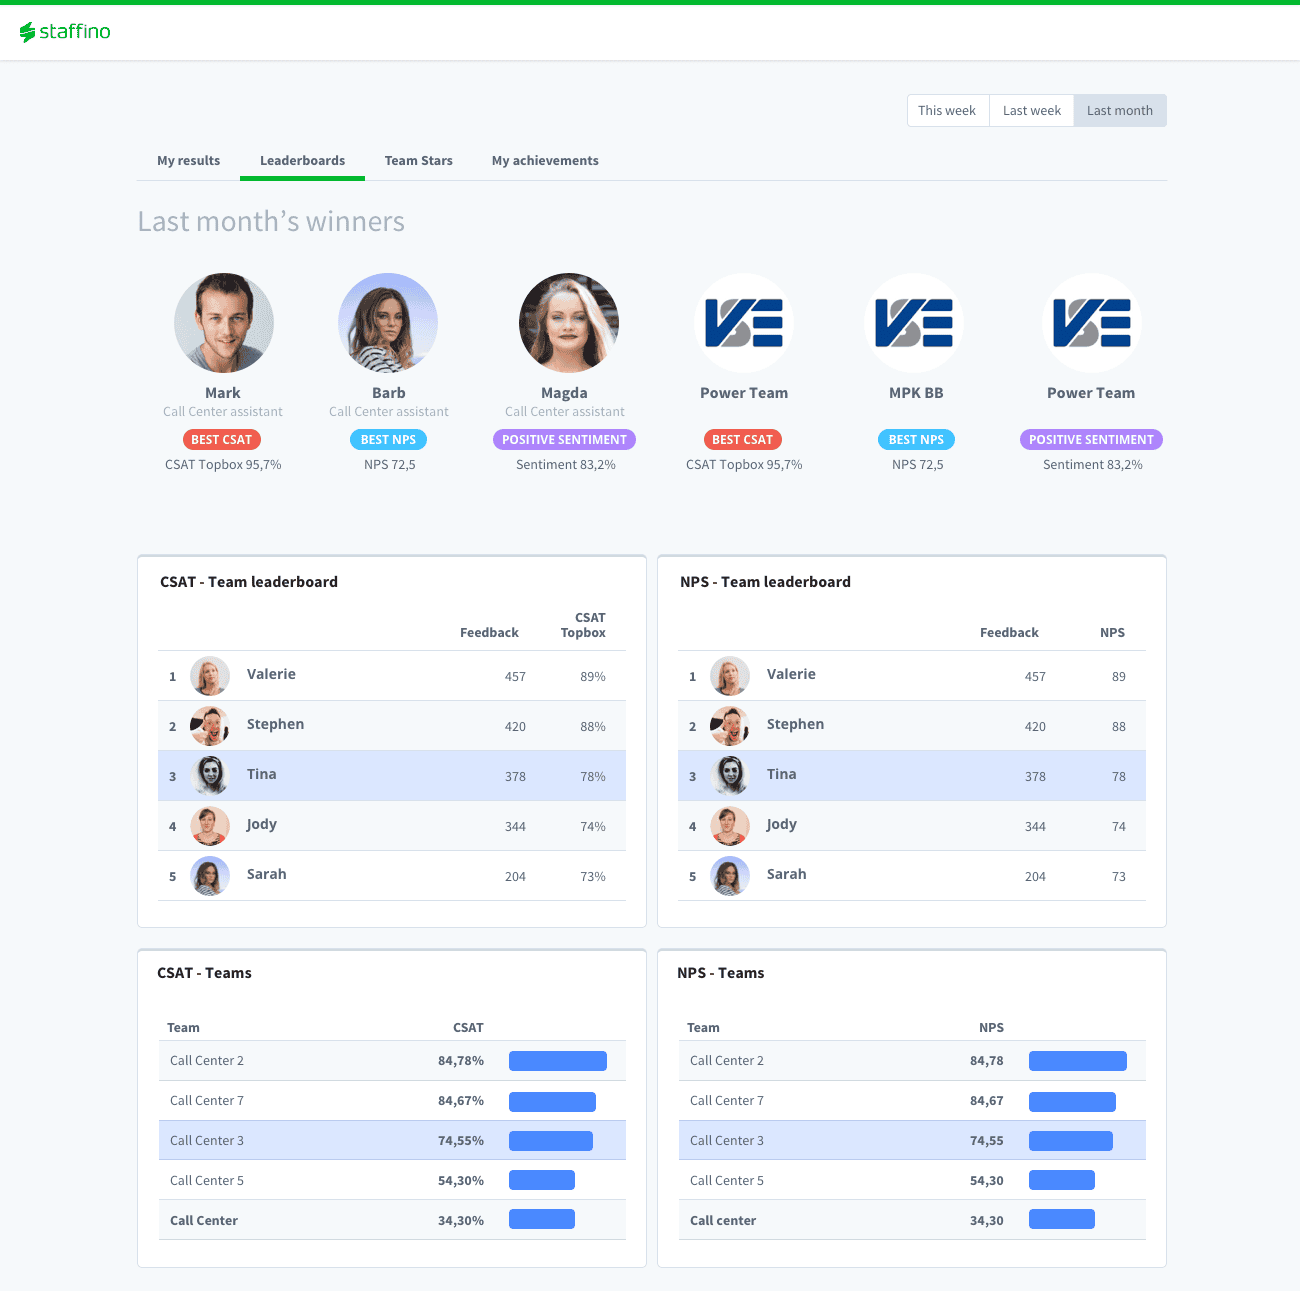
Click on the “Results” tab and choose “Gamification” in the drop-down list. The gamification module by Staffino is a unique way of boosting your frontline employee engagement through a “healthy race”.
- “Leaderboards” display employee and team ranking for relevant metrics such as CSAT, CES, NPS, etc.
- “Team achievements” and “Team stars” display the winners of the most badges and the kinds of badges employees collected, respectively.
When you decide to deploy the employee gamification module, we can also create custom-made badges that will reflect your organisation’s culture or internal jokes to enrich employees’ daily workflow in an original way.
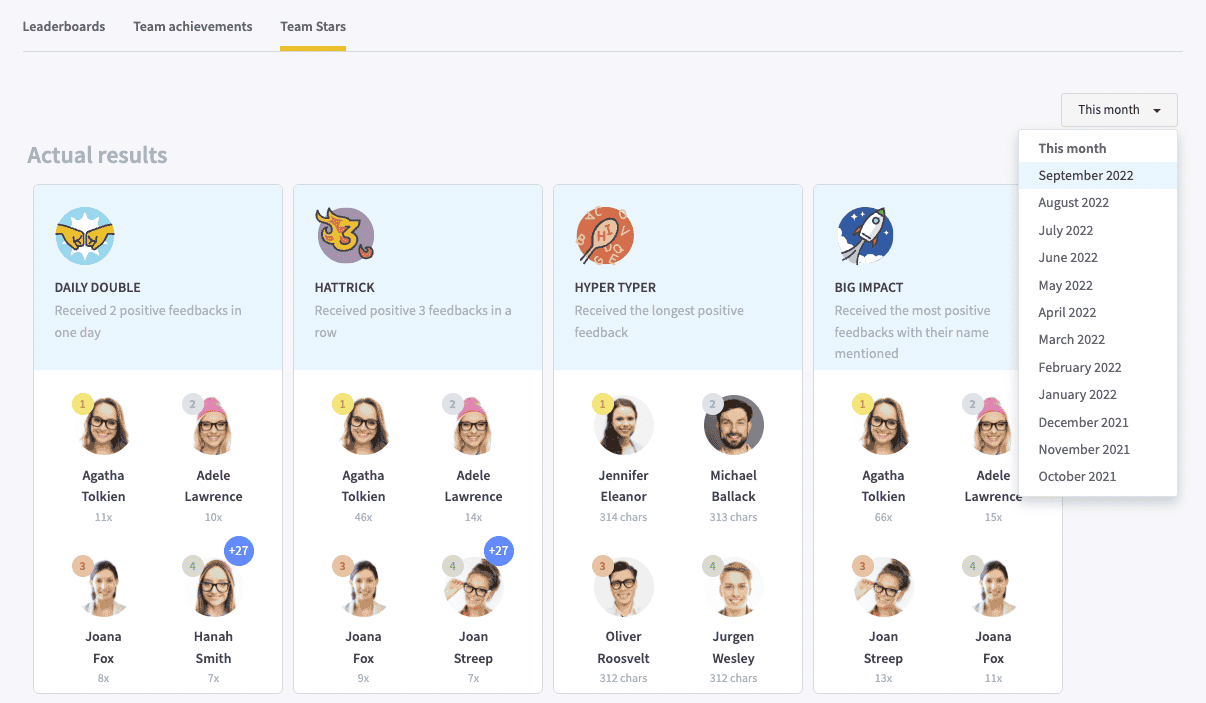
- You can select different time intervals on the right to see the best or worst-performing employees and teams for a specific time range.
9. NOTIFICATIONS
Let’s get back to where we started. Leave your demo campaign, and click on the “Settings” tab.
- In the drop-down list, choose “Notifications”.
- Here you can create custom notifications for the type of feedback most relevant to you.
- For instance, set a notification for feedback that includes an NPS rating lower than 3.
- Your employees can also turn on selected notifications in their profiles based on admin-assigned notification groups.
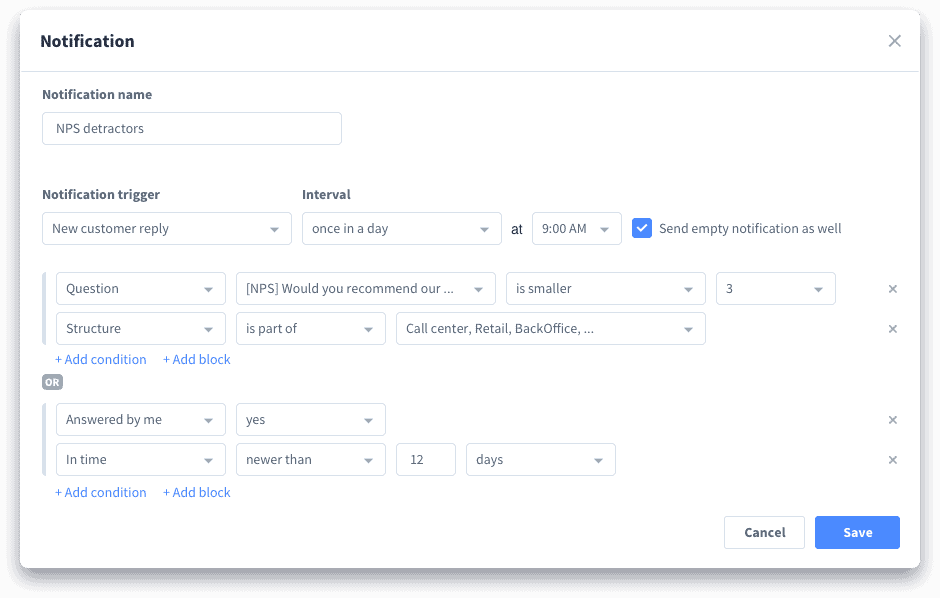
Why are notifications important? In the case of the abovementioned setting, you will be notified immediately if a customer gives you a bad NPS rating. This way, you have a chance to follow up with the detractor and possibly save the customer by responding to their feedback and offering a solution before they decide to leave you for good or spread the negative word on social media.
The Final Tip
We hope you find this demo guide useful. If you want to know more about the personalisation options, see beyond the basic dashboard set, or have any other questions regarding the use of the Staffino experience management platform, do not hesitate to reach out to us! We will happily arrange an online meeting and answer all your questions.